Metallic vs. specular workflow
When you create a material with the Standard shader you have the choice of using one of two shadersA program that runs on the GPU. More info
See in Glossary: Standard or Standard (Specular setup). They differ in the data they take as follows:
Standard: The shader exposes a “metallic” value that states whether the material is metallic or not. In the case of a metallic material, the Albedo color controls the color of the specular reflection and most light reflects as specular reflections. Non-metallic materials have specular reflections that are the same color as the incoming light and barely reflect when looking at the surface face-on.
Standard (Specular setup): Choose this shader for the classic approach. Use a specular colorThe color of a specular highlight.
See in Glossary to control the color and strength of specular reflections in the material. This makes it possible to have a specular reflection of a different color than the diffuse reflection.
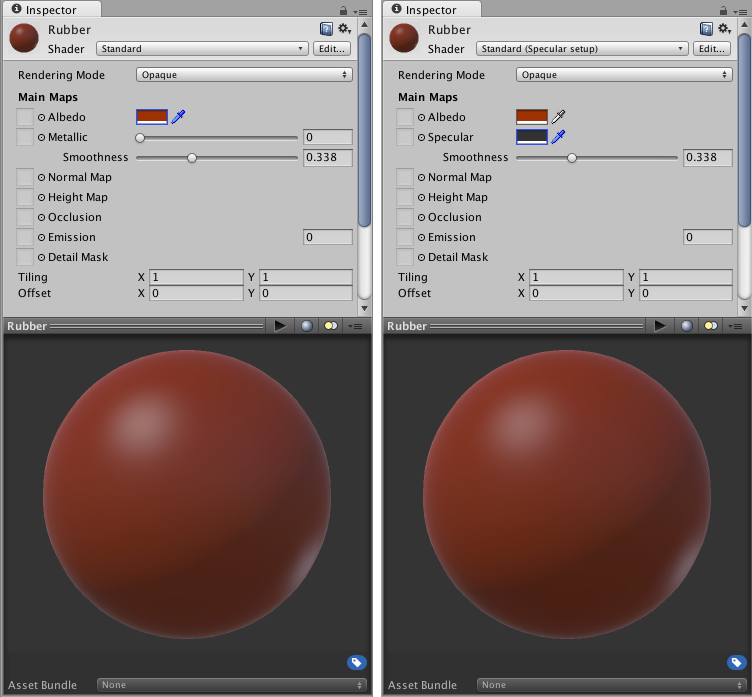
You can achieve a good representation of most common material types using either method, so for the most part choosing one or the other is a matter of personal preference to suit your art workflow. The following example shows a rubbery plastic material created in both Standard and Standard Specular workflows:

The first image represents the metallic workflow, where you set the metallic to zero (non-metallic). The second setup is nearly identical but you set the specular to nearly black (so you don’t get metallic mirror-like reflections).
In the world of Physically Based ShadingAn advanced lighting model that simulates the interactions between materials and light in a way that mimics reality. More info
See in Glossary you can use references from known real-world materials. For some examples of these references, see our Material Charts.