Autodesk Interactive shader
The Autodesk Interactive shaderA program that runs on the GPU. More info
See in Glossary replicates the Interactive PBS shader available in Autodesk® 3DsMax and Autodesk® Maya, for you to use in Unity.
When Unity imports an FBX exported from one of these softwares, it checks whether the FBX includes materials with Interactive PBS shaders. If it does, Unity imports these materials as Autodesk Interactive materials. The Autodesk Interactive material properties are identical to their original Interactive PBS materials. They also look and respond to light in a similar way.
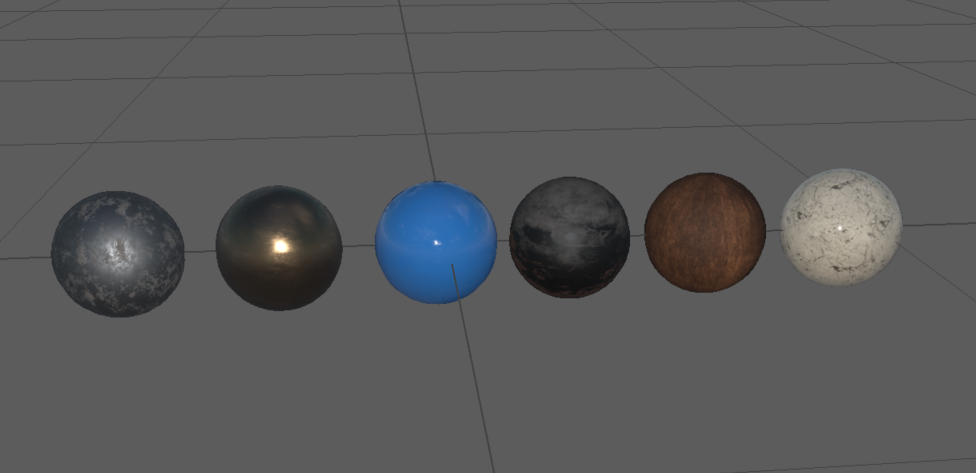
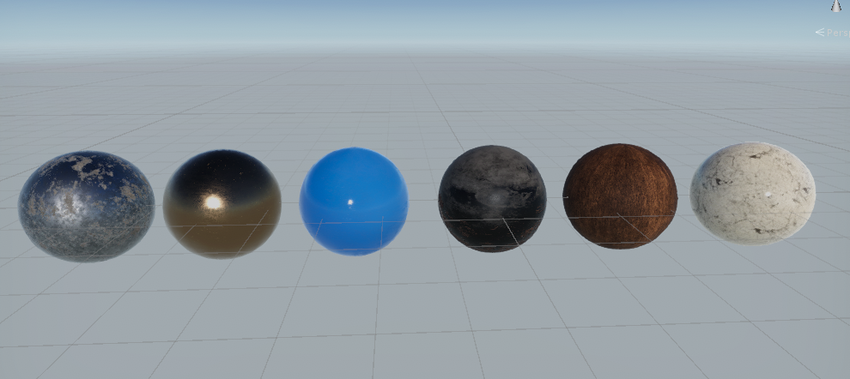
There are slight differences between what you see in Autodesk® Maya or Autodesk® 3DsMax and what you see in Unity:


Creating an Autodesk Interactive material
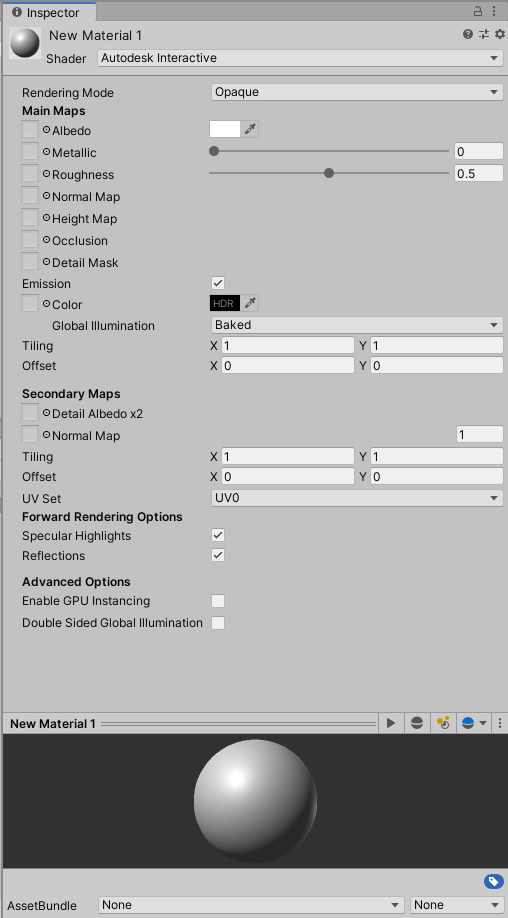
When Unity imports an FBX file with a compatible Autodesk shader, it automatically creates an Autodesk Interactive material. If you want to manually create an Autodesk Interactive material:
Create a new material from the menu: Assets > Create > Material.
In the InspectorA Unity window that displays information about the currently selected GameObject, asset or project settings, allowing you to inspect and edit the values. More info
See in Glossary for the Material, click the Shader drop-down then click Autodesk Interactive.
Properties
The properties of the Autodesk Interactive shader work in the same way as the Material Properties in the Standard Shader, with the exception of Roughness.
For more information on all other properties, see Material Parameters.

| Property | Description | |
|---|---|---|
| Rendering Mode | Controls how Unity displays this material. Choose from Opaque, Cutout, Fade, or Transparent. This property functions in the same way as the standard shader. For more information, see Rendering mode. |
|
| Main Maps | Albedo | Defines the color of the material. You can assign a texture to control this property; to do this, use the texture picker button to the left of the property name. For more information, see Albedo. |
| Metallic | Determines how metal-like the surface is. You can assign a texture to control this property; to do this, use the texture picker button to the left of the property name. For more information, see Metallic mode: Metallic Parameter. |
|
| Roughness | Controls how rough or smooth the surface of this material appears. You can assign a texture to control this property; to do this, use the texture picker button to the left of the property name. |
|
| Normal Map | Defines the normal map for this material, in tangent space. To assign a normal map to this material, use the texture picker button to the left of the property name. For more information about normal maps, see Normal MapA type of Bump Map texture that allows you to add surface detail such as bumps, grooves, and scratches to a model which catch the light as if they are represented by real geometry. See in Glossary. |
|
| Height Map | Defines the height map this material uses. To assign a height map to this material, use the texture picker button to the left of the property name. For more information about height maps, see Height Map. |
|
| Occlusion | Defines the occlusion map this material uses. To assign an occlusion map to this material, use the texture picker button to the left of the property name. For more information about occlusion maps, see Occlusion Map. |
|
| Detail Mask | Defines the detail mask this material uses. To assign a detail mask to this material, use the texture picker button to the left of the property name. For more information about detail masks, see Secondary Maps. |
|
| Emission | Controls the color and intensity of light that the surface of a Material emits. For more information, see Standard shader Emission. |
|
| Tiling | Controls the X and Y UV tiling for all the textures on this material. | |
| Offset | Controls the X and Y UV offset for all the textures on this material. Unity uses the X and Y values to offset these textures across the material’s surface, in texture space. |
|
| Secondary Maps | Secondary Maps (or Detail maps) allow you to overlay a second set of textures on top of the main textures listed above. This second layer of maps allows you to repeat textures over a material on a smaller scale to give the impression of sharp detail when viewed up-close. For more information, see Secondary Maps. |
|
| Detail Albedo x2 | Use the texture picker button to apply a second albedo colour map to this material. | |
| Normal map | Use the texture picker button to apply a second normal map to this material. You can control the intensity of this normal map by entering a value greater than 0 in the field next to this property. |
|
| Tiling | The X and Y UV tiling for all the textures on this material | |
| Offset | The X and Y UV offset for the secondary textures on this material. | |
| UV Set | If this meshThe main graphics primitive of Unity. Meshes make up a large part of your 3D worlds. Unity supports triangulated or Quadrangulated polygon meshes. Nurbs, Nurms, Subdiv surfaces must be converted to polygons. More info See in Glossary contains more than one set of UV coordinates, you can use this to assign the secondary textures to a different UV set from the primary textures. |
|
| Forward RenderingA rendering path that renders each object in one or more passes, depending on lights that affect the object. Lights themselves are also treated differently by Forward Rendering, depending on their settings and intensity. More info See in Glossary Options |
Specular Highlights | Enable this checkbox to give this material Specular highlights. |
| Reflections | Enable this checkbox to give this material a reflective surface. | |
| Advanced Options | Enable GPU Instancing | Enable this checkbox to tell Unity to render Meshes with the same geometry and material in one batch when possible. This makes rendering faster. Unity cannot render Meshes in one batch if they have different materials, or if the hardware does not support GPU instancing. For example, you cannot static-batch GameObjects that have an animation based on the object pivot, but the GPU can instance them. For more information, see GPU Instancing. |
| Double Sided Global Illumination | Enable this checkbox to tell the lightmapper to take both sides of the geometry into account when it calculates Global Illumination. When this is enabled, Unity does not render backfaces or add them to lightmaps, but does treat them as valid when other GameObjects detect them. When using the Progressive Lightmapper, the GameObject’s backfaces bounce light using the same emission and albedo as its frontfaces. |