Setting up the post-processing stack
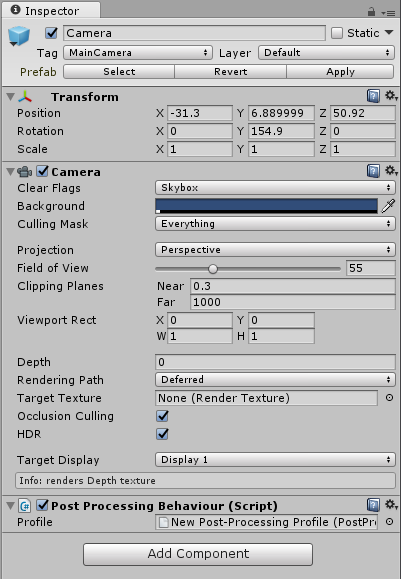
For optimal post-processing results it is recommended that you work in the Linear color-space with HDR enabled. Using the deferred rendering path is also recommended (as required for some effects, such as Screen Space Reflection).
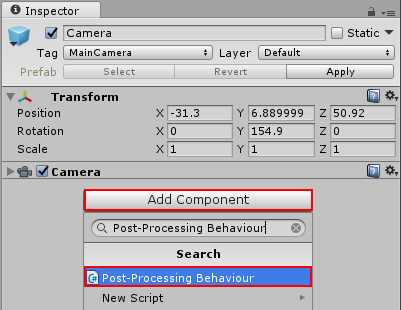
First you need to add the Post Processing Behaviour script to your camera. You can do that by selecting your camera and use one of the following ways:
Drag the PostProcessingBehaviour.cs script from the project window to the camera.
Use the menu Component > Effects > Post Processing Behaviour.
Use the Add Component button in the Inspector.

You will now have a behaviour configured with an empty profile. The next step is to create a custom profile using one of the following ways:
Right-click in your project window and select Create > Post-Processing Profile.
Use the menu Assets > Create > Post-Processing Profile.
This will create a new asset in your project.
Post-Processing Profiles are project assets and can be shared easily between scenes / cameras, as well as between different projects or on the Asset Store. This makes creating presets easier (ie. high quality preset for desktop or lower settings for mobile).
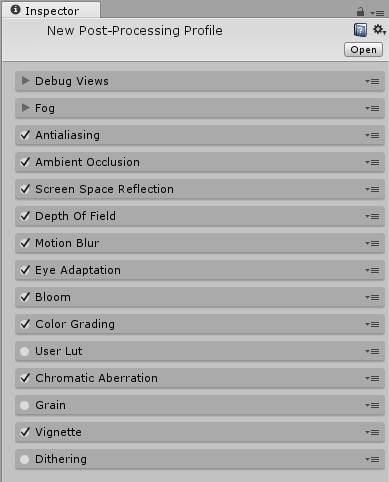
Selecting a profile will show the inspector window for editing the profile settings.

To assign the profile to the behaviour you can drag it from the project panel to the component or use the object selector in the inspector.

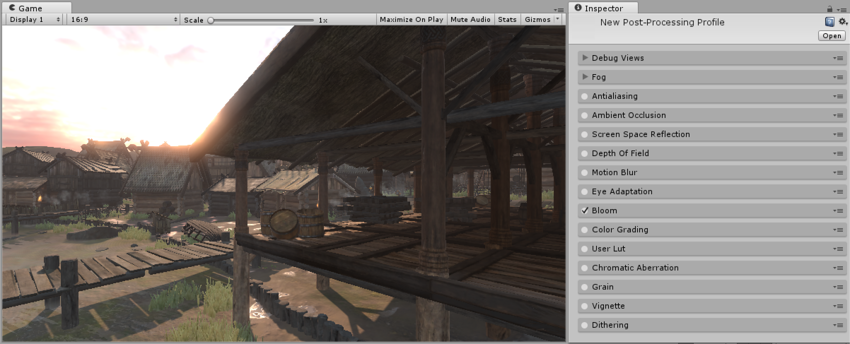
With the profile selected, you can use the checkbox on each effect in the inspector to enable or disable individual effects. You’ll find more information about each effect in their individual documentation pages.

2017–05–24 Page published with limited editorial review
New feature in 5.6
Did you find this page useful? Please give it a rating: