The HDRI view
Lighting in Look Dev is represented by an HDRI (high dynamic range image). The Look Dev view allows you to manipulate and easily switch between HDRIs.
The HDRI view allows you to view and browse all HDRIs in the HDRI Library. By default, the HDRI Library is saved within the Editor. You can also save the HDRI Library as an Asset under a different name. In the Look Dev, go to Settings > HDRI Library > Save As New Library.
To import an HDRI into Unity, load a .hdr or .exr file into your Unity project like you would any other image. In the Texture Importer Inspector window, set Texture Type to Default, set Texture Shape to Cube, and set Convolution Type to Specular (Glossy Reflection).
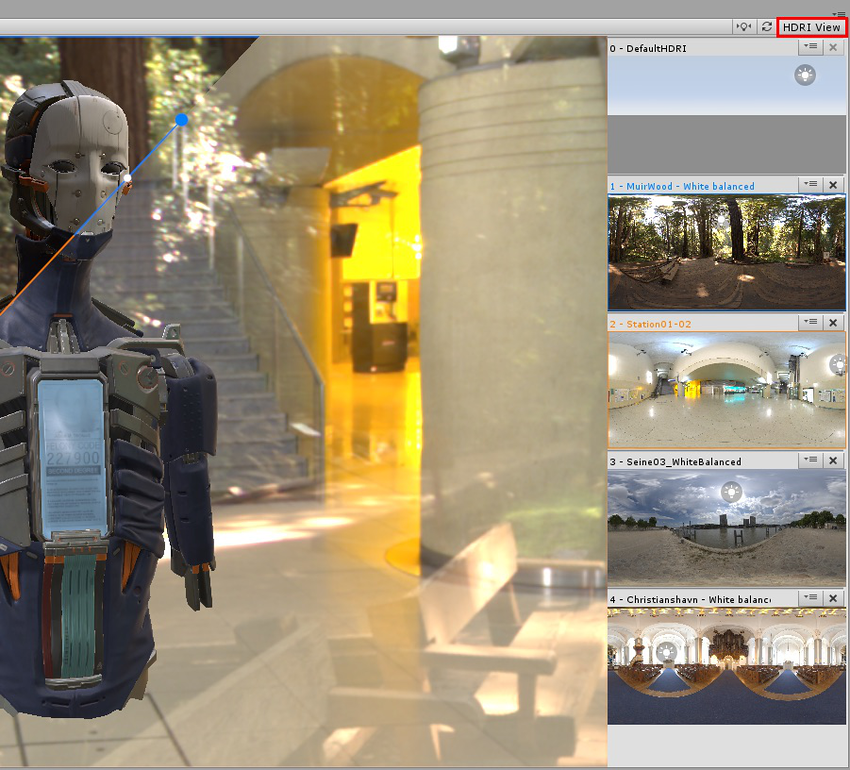
To browse the HDRI Library, select the HDRI View button in the top-right corner of the Look Dev view. This opens the HDRI view, which shows everything in the HDRI Library as seen in the image below.
When you want to test a HDRI Texture Asset or a skybox cube map Material, drag and drop it into the Look Dev view or the HDRI view to use it. All HDRIs added to the Look Dev view or HDRI view are automatically saved to the HDRI Library. A blue or orange rectangle appears around the view while you do this to indicate which viewing panel it is to be assigned to when you drop it.
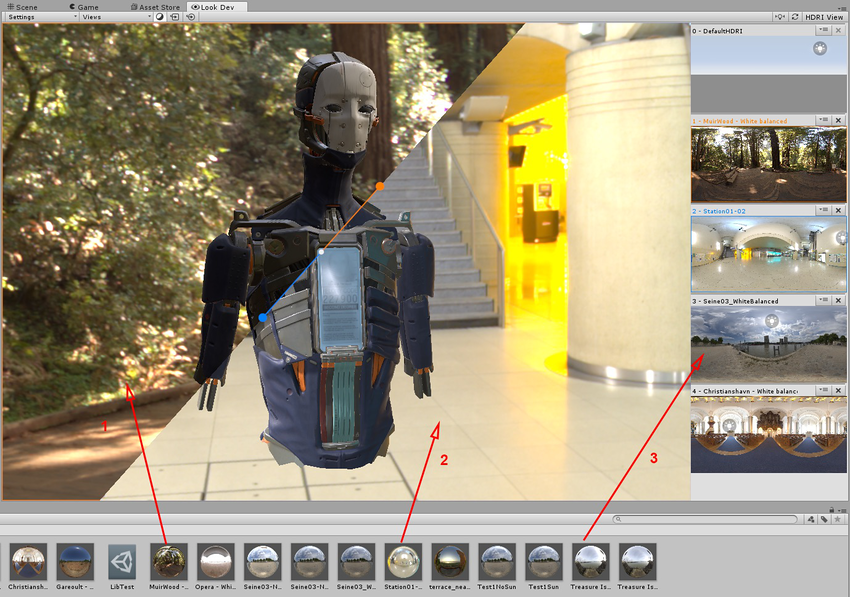
Image key:
Drag to orange view
Drag to blue view
Drag to HDRI view. To drag and drop multiple HDRIs at once, hold down Shift while selecting them.
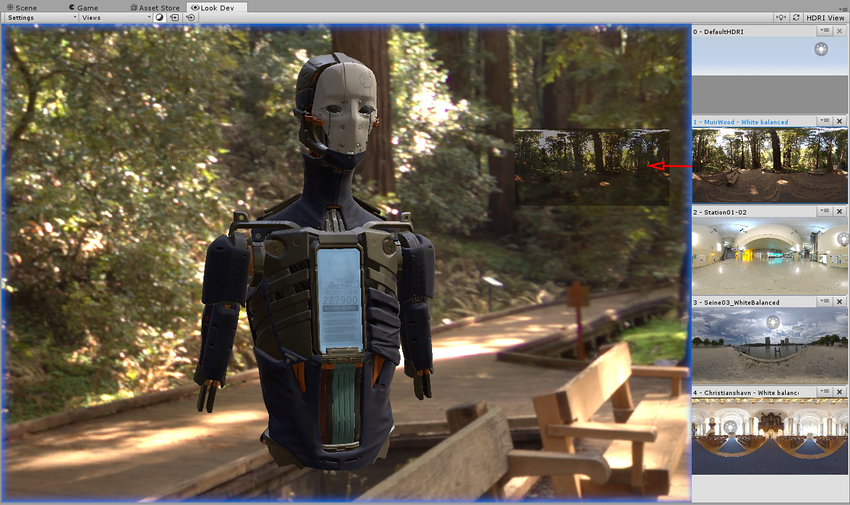
Drag and drop HDRIs straight from the HDRI view to move them into the Look Dev view.
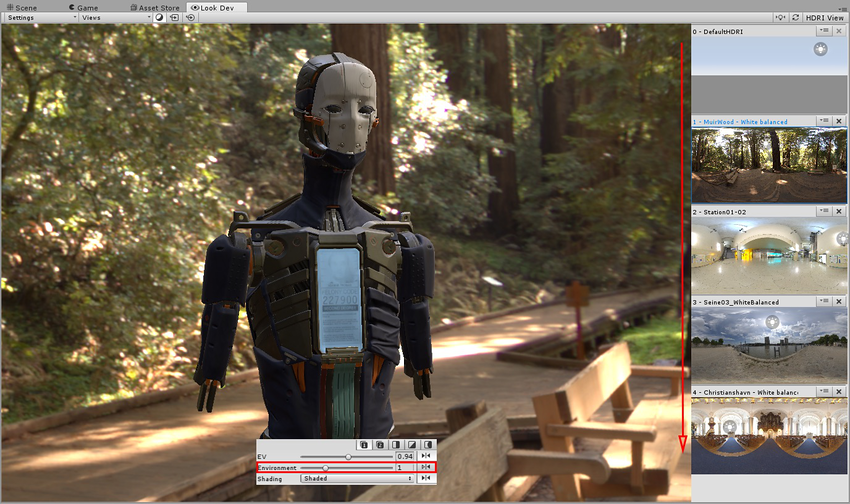
Use the Environment slider in the Control Panel to go back and forth through the HDRI list. The number displayed alongside the slider indicates which HDRI is currently being displayed, beginning at 0.
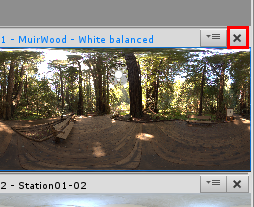
To remove an HDRI from the HDRI Library, click the X in the top right next to the HDRI’s name. Note that you can’t remove DefaultHDRI.
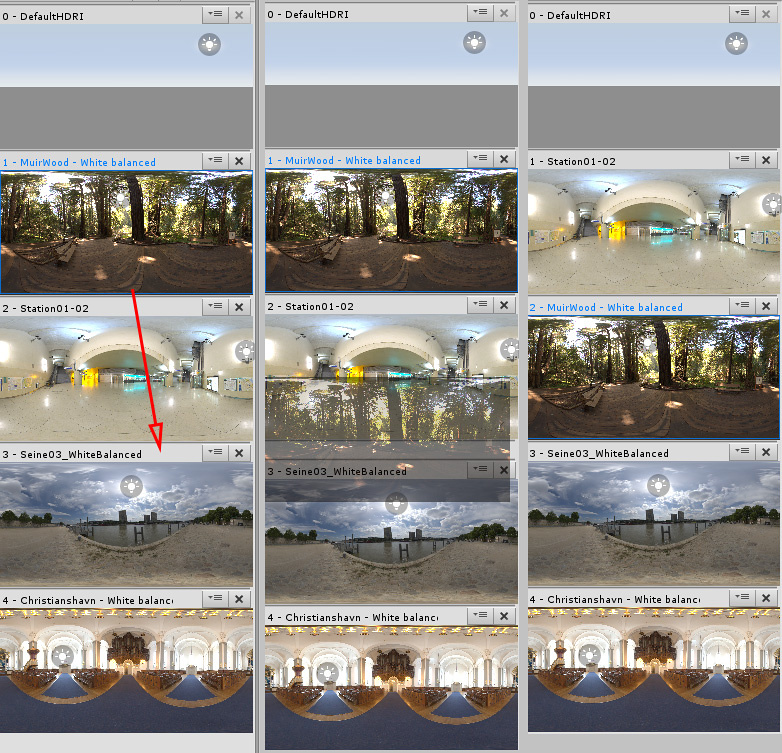
To reorganize the HDRI view, drag and drop HDRIs inside the browser itself.
Did you find this page useful? Please give it a rating: