- Unity User Manual (2018.3)
- Unity Services
- Unity Collaborate
- Setting up Unity Collaborate
Setting up Unity Collaborate
Enabling the service
Typically, Unity Services are enabled by default. You can specify settings during Project creation to disable Unity Services. If Unity Services are disabled, you must re-enable them before you can use Collaborate. For more information, see Setting up your Project for Unity Services.
Collaborate is distributed as a preinstalled Unity package. You can update or uninstall Collaborate using the Unity Package Manager. For more information about the Unity Package Manager, see Packages Documentation.
Note: If the Collab button is not available, it is likely that the Collaborate package is not installed. Use the Unity Package Manager to reinstall it.
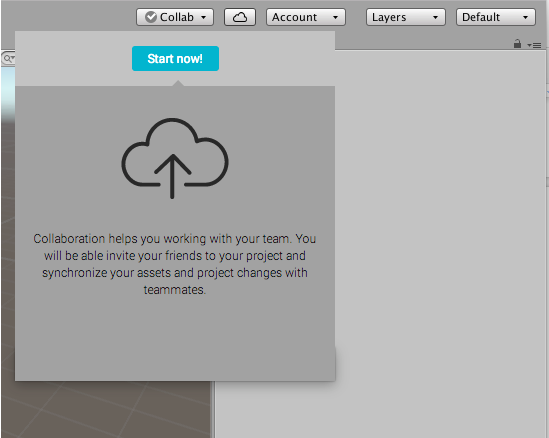
To enable Collaboration in your Unity Project, on the Unity Editor toolbar click the Collab button and then click Start Now.

Publishing changes to your Project
If you enable Collaborate on a newly created Project, your Project is automatically published to the cloud.
If you are adding Collaborate to an existing Project, you might need to manually publish your Project.
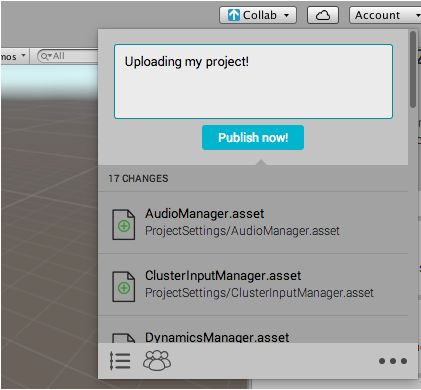
To publish your changes and share them with your teammates, click the Collab button, then click Publish now.

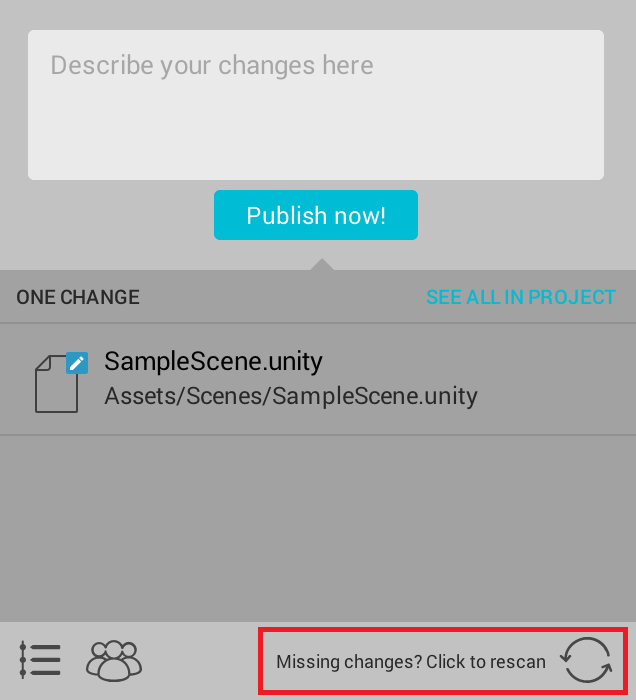
When using Collaborate package versions 2.0.0 or higher, you can manually refresh the list of changed files by clicking the Click to rescan button at the bottom of the Collab drop-down window. For more information on changing Collaborate package versions, see the service overview.

Note: Re-scanning checks for new files that have changed. Once a file is on the list, you don’t need to manually rescan for changes again.
When you make changes to your Project, Collaborate indicates that you have unpublished changes by displaying an up arrow on the Collab button.

- 2019–04–24 Page published with no editorial review