Video sources
The Video Player component can play content imported from a variety of sources.
Video Clip
To create and use a Video Clip Asset, you must first import a video file.
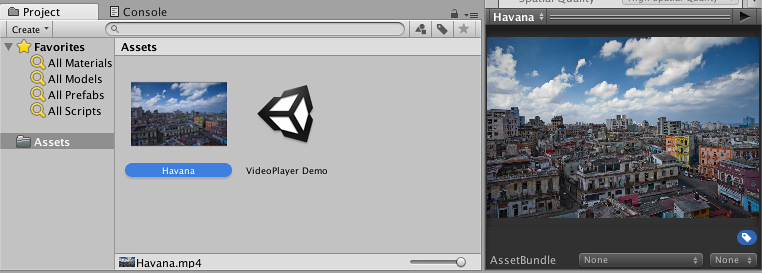
Dragging and dropping a video file into the Project window creates a Video Clip.

Another way to create a Video Clip is to navigate to Assets > Import New Asset… to import a video file.
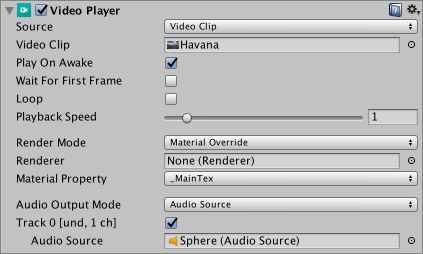
Once imported, the newly created Video Clip can be selected in the Video Player component using either the Select VideoClip window (accessible by clicking the circle select button to the right of the Video Clip field) or by dragging and dropping the Video Clip Asset into the corresponding Video Player component field.

URLs

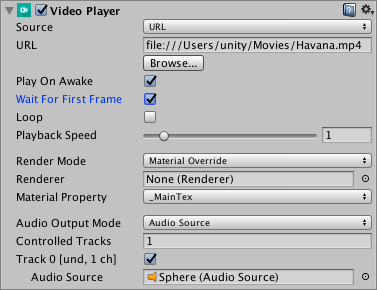
Use the drop-down Source menu to set the video source to URL (this property is set to Video Clip by default). Setting Source to URL makes it possible to directly use files in the filesystem, with or without a file:// prefix.
The URL source option bypasses Asset management, meaning you must manually ensure that the source video can be found by Unity. For example, a web URL needs a web server to host the source video, while a normal file must be located somewhere where Unity can find it, indicated with scripting. However, this can be useful for situations where the content is not under Unity’s direct control, or if you want to avoid storing large video files locally.
Setting the Video Player component source to URL can also be used to read videos from web sources via http:// and https://. In these cases, Unity performs the necessary pre-buffering and error management.
Asset Bundles
Video Clips can also be read from Asset Bundles.
Once imported, these Video Clips can be used by assigning it to the Video Player component’s Video Clip field.
Streaming Assets
Files placed in Unity’s StreamingAssets folder can be used via the Video Player component’s URL option (see above), or by using the platform-specific path (Application.streamingAssetsPath).
2017–06–15 Page published with limited editorial review
New feature in Unity 5.6