- Unity User Manual (2019.1)
- User interfaces (UI)
- Immediate Mode GUI (IMGUI)
- Extendiendo el UnityGUI
Extendiendo el UnityGUI
Hay un número de maneras de apalancamiento y de extender el UnityGUI para satisfacer sus necesidades. Los Controles pueden ser mezclados y creados,y usted tiene una gran cantidad de apalancamiento en dictar cómo se procesa el input del usuario en el GUI.
Controles Compuestos
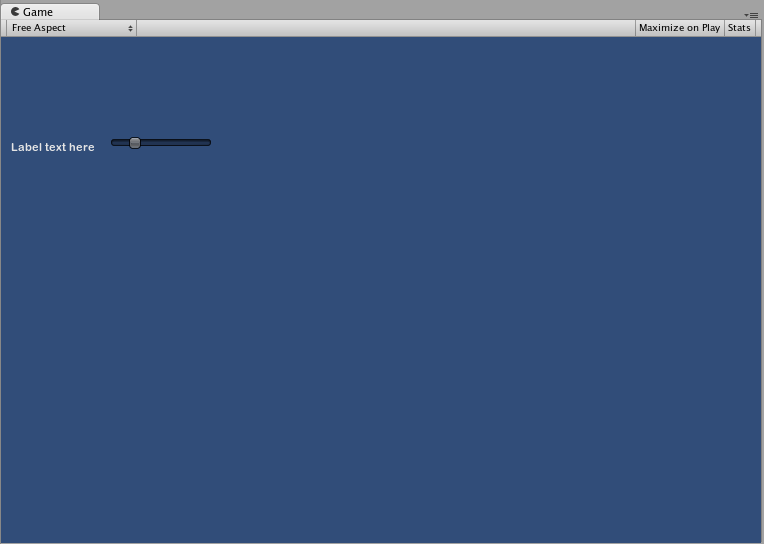
Puede haber situaciones en su GUI en dónde dos tipos de Controles siempre aparecen juntos. Por ejemplo, de pronto usted está creando una pantalla para Crear Personajes, con varios deslizadores Horizontales. Todos ellos necesitan una Etiqueta para identificarlos, para que el jugador sepa qué es lo que están ajustando. En este caso, usted puede asociar cada llamada a un GUI.Label() con una llamada a GUI.HorizontalSlider(), o usted puede crear un Compound Control que incluye ambas etiquetas y deslizadores juntos.
/* Label and Slider Compound Control */


// JavaScript
var mySlider : float = 1.0;

function OnGUI () {
    mySlider = LabelSlider (Rect (10, 100, 100, 20), mySlider, 5.0, "Label text here");
}

function LabelSlider (screenRect : Rect, sliderValue : float, sliderMaxValue : float, labelText : String) : float {
    GUI.Label (screenRect, labelText);
    screenRect.x += screenRect.width; // <- Push the Slider to the end of the Label
    sliderValue = GUI.HorizontalSlider (screenRect, sliderValue, 0.0, sliderMaxValue);
    return sliderValue;
}


// C#
using UnityEngine;
using System.Collections;

public class GUITest : MonoBehaviour {

    private float mySlider = 1.0f;

    void OnGUI () {
        mySlider = LabelSlider (new Rect (10, 100, 100, 20), mySlider, 5.0f, "Label text here");
    }

    float LabelSlider (Rect screenRect, float sliderValue, float sliderMaxValue, string labelText) {
        GUI.Label (screenRect, labelText);

        // <- Push the Slider to the end of the Label
        screenRect.x += screenRect.width;

        sliderValue = GUI.HorizontalSlider (screenRect, sliderValue, 0.0f, sliderMaxValue);
        return sliderValue;
    }

}
En este ejemplo, llamado LabelSlider() y pasando los argumentos correctos va a proporcionar una etiqueta asociada con un Deslizador Horizontal. Cuando escriba Controles Compuestos, usted tiene que recordar en devolver el valor correcto al final de la función para hacerlo interactivo.

Controles Estáticos Compuestos
Al usar las funciones Static, used puede crear una colección entera de sus propios Controles Compuestos que son autónomos. De esta manera, usted no tiene que declarar su función en el mismo script que usted quiere utilizar.
/* This script is called CompoundControls */


// JavaScript
static function LabelSlider (screenRect : Rect, sliderValue : float, sliderMaxValue : float, labelText : String) : float {
    GUI.Label (screenRect, labelText);
    screenRect.x += screenRect.width; // <- Push the Slider to the end of the Label
    sliderValue = GUI.HorizontalSlider (screenRect, sliderValue, 0.0, sliderMaxValue);
    return sliderValue;
}


// C#
using UnityEngine;
using System.Collections;

public class CompoundControls : MonoBehaviour {

    public static float LabelSlider (Rect screenRect, float sliderValue, float sliderMaxValue, string labelText) {
        GUI.Label (screenRect, labelText);

        // <- Push the Slider to the end of the Label
        screenRect.x += screenRect.width;

        sliderValue = GUI.HorizontalSlider (screenRect, sliderValue, 0.0f, sliderMaxValue);
        return sliderValue;
    }

}
Al guardar el ejemplo de arriba en un script llamado CompoundControls, usted puede llamar la función LabelSlider() desde cualquier otro script sencillamente escribiendo CompoundControls.LabelSlider() y proporcionando sus argumentos.
Controles Compuestos Elaborados
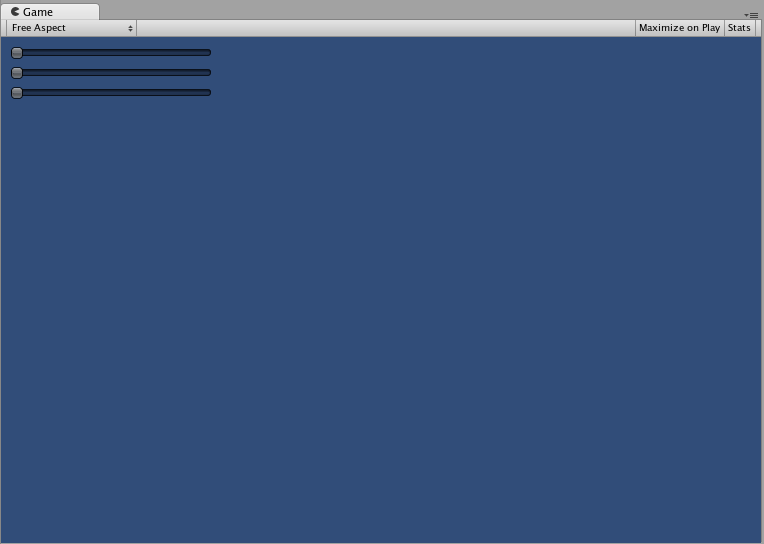
Usted puede ser muy creativo con los controles compuestos. Ellos se pueden organizar y agrupar en cualquier forma que desee. El siguiente ejemplo crea un deslizador RGB reutilizable.
/* RGB Slider Compound Control */


// JavaScript
var myColor : Color;

function OnGUI () {
    myColor = RGBSlider (Rect (10,10,200,10), myColor);
}

function RGBSlider (screenRect : Rect, rgb : Color) : Color {
    rgb.r = GUI.HorizontalSlider (screenRect, rgb.r, 0.0, 1.0);
    screenRect.y += 20; // <- Move the next control down a bit to avoid overlapping
    rgb.g = GUI.HorizontalSlider (screenRect, rgb.g, 0.0, 1.0);
    screenRect.y += 20; // <- Move the next control down a bit to avoid overlapping
    rgb.b = GUI.HorizontalSlider (screenRect, rgb.b, 0.0, 1.0);
    return rgb;
}


// C#
using UnityEngine;
using System.Collections;

public class GUITest : MonoBehaviour {

    public Color myColor;

    void OnGUI () {
        myColor = RGBSlider (new Rect (10,10,200,10), myColor);
    }

    Color RGBSlider (Rect screenRect, Color rgb) {
        rgb.r = GUI.HorizontalSlider (screenRect, rgb.r, 0.0f, 1.0f);

        // <- Move the next control down a bit to avoid overlapping
        screenRect.y += 20;
        rgb.g = GUI.HorizontalSlider (screenRect, rgb.g, 0.0f, 1.0f);

        // <- Move the next control down a bit to avoid overlapping
        screenRect.y += 20;

        rgb.b = GUI.HorizontalSlider (screenRect, rgb.b, 0.0f, 1.0f);
        return rgb;
    }
}

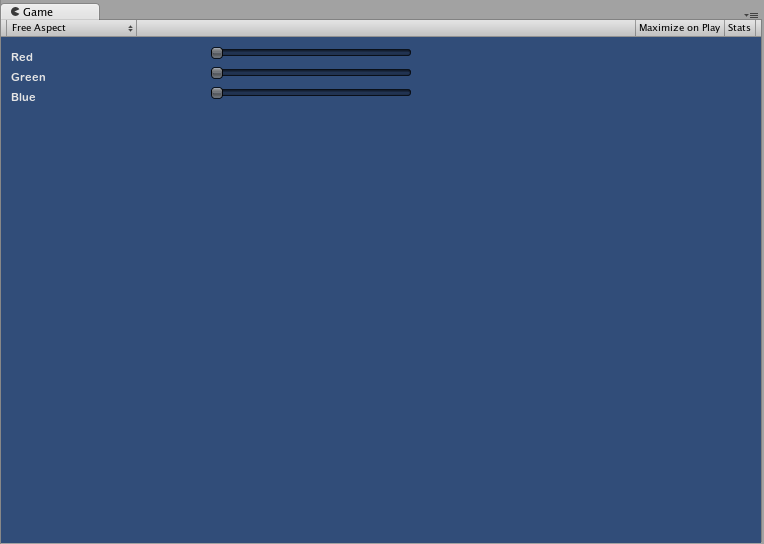
Ahora vamos a crear controles compuestos en la parte superior de cada uno, con el fin de demostrar cómo los Controles Compuestos pueden ser utilizados dentro otros Controles Compuestos. Para hacer esto, nosotros crearemos un nuevo Deslizador RGB como el de arriba, pero nosotros utilizaremos el LabelSlider para hacerlo. De esta manera siempre tendremos una etiqueta diciéndonos qué deslizador corresponde a cada color.
/* RGB Label Slider Compound Control */


// JavaScript
var myColor : Color;

function OnGUI () {
    myColor = RGBLabelSlider (Rect (10,10,200,20), myColor);
}

function RGBLabelSlider (screenRect : Rect, rgb : Color) : Color {
    rgb.r = CompoundControls.LabelSlider (screenRect, rgb.r, 1.0, "Red");
    screenRect.y += 20; // <- Move the next control down a bit to avoid overlapping
    rgb.g = CompoundControls.LabelSlider (screenRect, rgb.g, 1.0, "Green");
    screenRect.y += 20; // <- Move the next control down a bit to avoid overlapping
    rgb.b = CompoundControls.LabelSlider (screenRect, rgb.b, 1.0, "Blue");
    return rgb;
}


// C#
using UnityEngine;
using System.Collections;

public class GUITest : MonoBehaviour {

    public Color myColor;

    void OnGUI () {
        myColor = RGBSlider (new Rect (10,10,200,30), myColor);
    }

    Color RGBSlider (Rect screenRect, Color rgb) {
        rgb.r = CompoundControls.LabelSlider (screenRect, rgb.r, 1.0f, "Red");

        // <- Move the next control down a bit to avoid overlapping
        screenRect.y += 20;
        rgb.g = CompoundControls.LabelSlider (screenRect, rgb.g, 1.0f, "Green");

        // <- Move the next control down a bit to avoid overlapping
        screenRect.y += 20;

        rgb.b = CompoundControls.LabelSlider (screenRect, rgb.b, 1.0f, "Blue");

        return rgb;
    }

}
